

随机图片api搭建
本文最后更新于 2025-03-26,文章超过7天没更新,应该是已完结了~
图片来源
本地存储:
图片数量有限。
需要稳定、低延迟的访问。
部署在小型环境或内网服务中。
外链存储:
图片数量大且经常变化。
用户分布广泛,需要通过 CDN 提升性能。
不希望将存储和分发负担放在自己的服务器上。
我们这里选择用阿里云oss云存储图片
生成图片链接
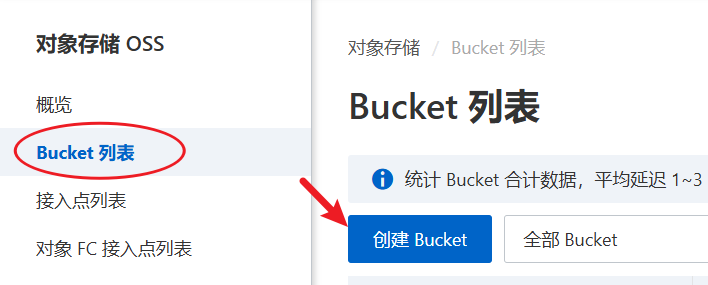
创建Bucket
在阿里云控制台搜索关键词“oss”,创建Bucket列表,具体步骤如下图:

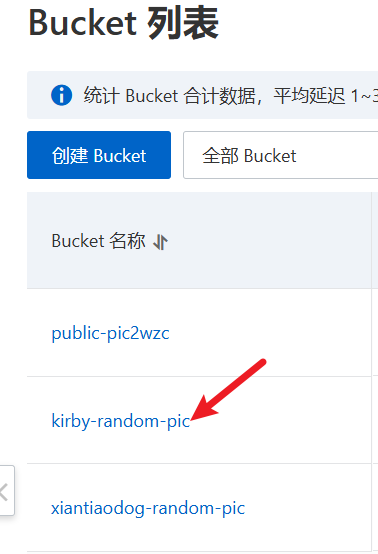
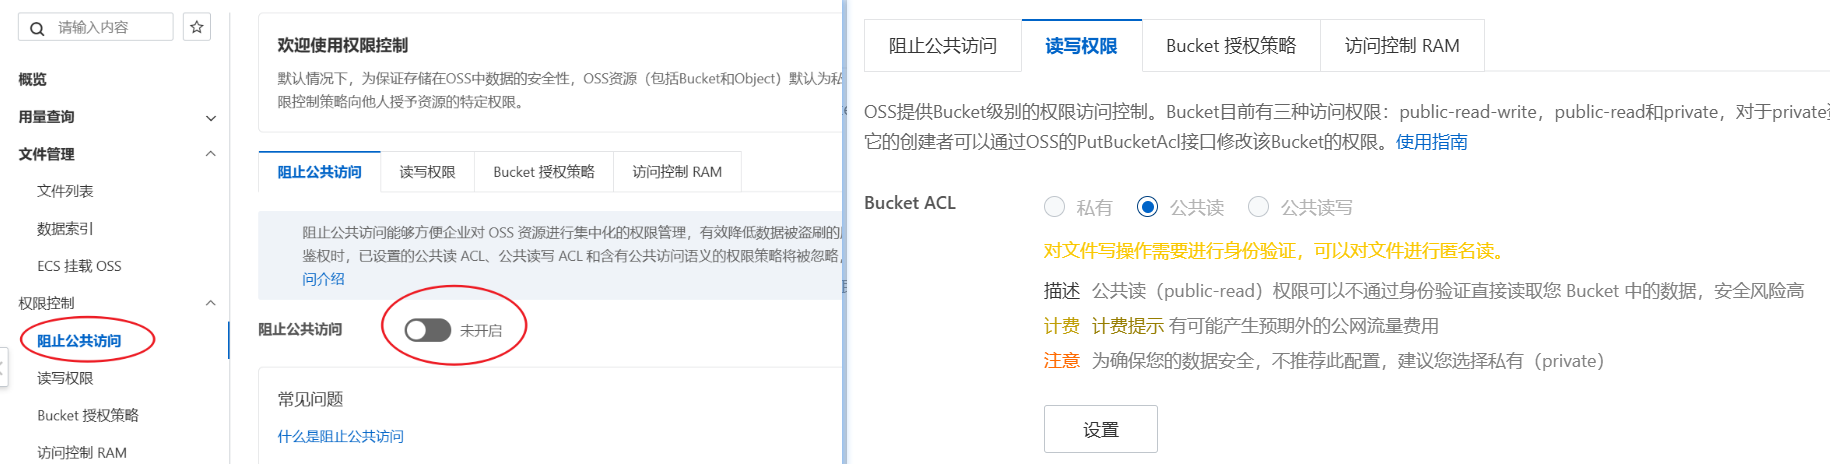
设置Bucket权限
进入具体的Bucket,在左侧“权限控制”列中设置关闭“阻止公共访问”,设置读写权限为“公共读”,这样图片才可以通过外网访问(不限时)
上传图片
这一步就不描述了,根据提示点击按钮上传图片
导出图片url
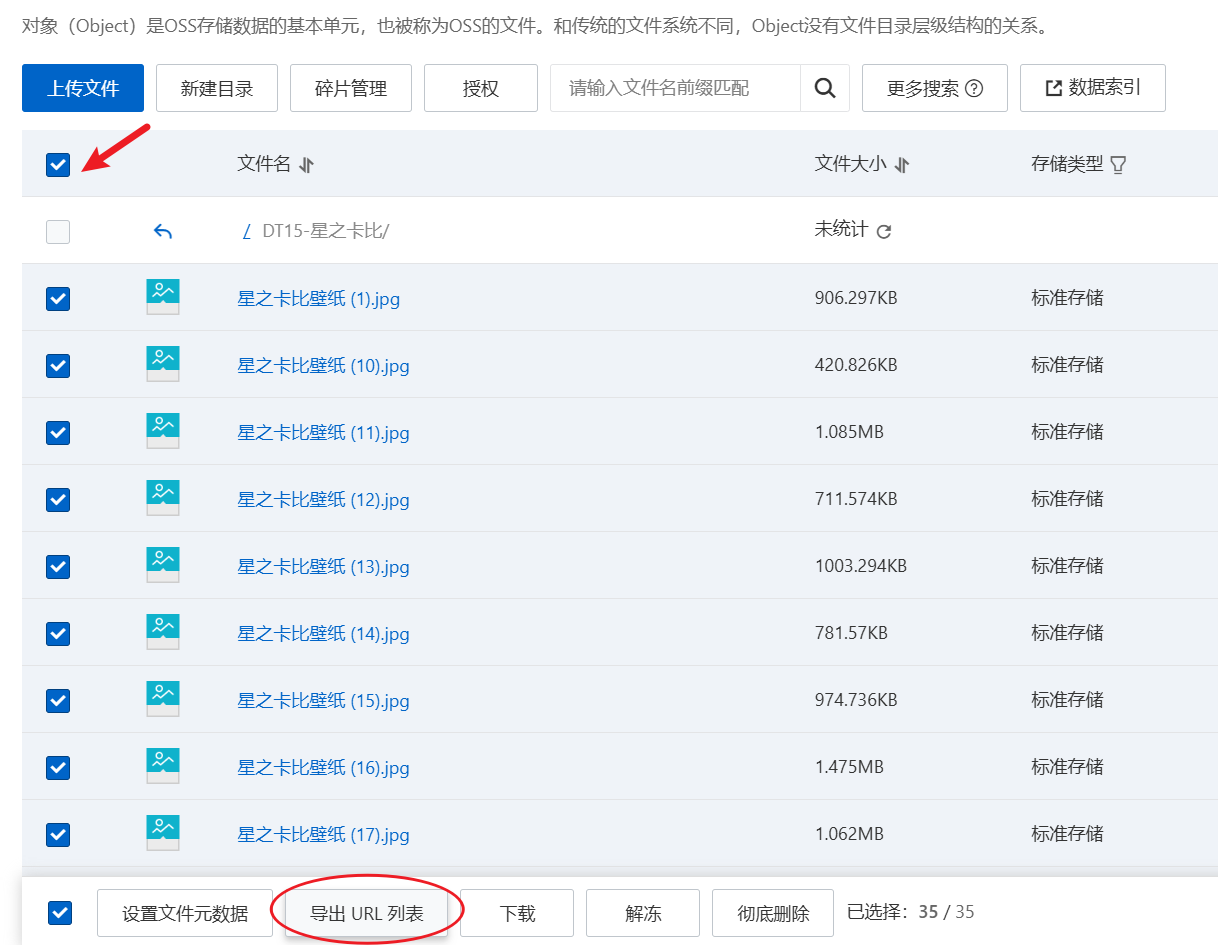
导出的csv文件中将图片链接复制粘贴到txt文件,命名随意,格式:图片链接之间换行分隔
接口代码(Springboot)
核心思路:读取同一目录下的txt文件,随机读取某一条链接并访问返回。
package com.example.randomimage;

import org.springframework.boot.SpringApplication;
import org.springframework.boot.autoconfigure.SpringBootApplication;
import org.springframework.web.bind.annotation.GetMapping;
import org.springframework.web.bind.annotation.PathVariable;
import org.springframework.web.bind.annotation.RestController;
import org.springframework.web.servlet.view.RedirectView;

import java.io.File;
import java.io.IOException;
import java.net.URISyntaxException;
import java.nio.file.Files;
import java.util.List;
import java.util.Random;

@SpringBootApplication
public class RandomImageApplication {
    public static void main(String[] args) {
        SpringApplication.run(RandomImageApplication.class, args);
    }
}

@RestController
class RandomImageController {
    private final Random random = new Random();

    @GetMapping("/{type}")
    public RedirectView getRandomImage(@PathVariable("type") String type) {
        String fileName = type + ".txt";
        String imageLink = getRandomImageLink(fileName);
        return new RedirectView(imageLink);
    }

    /**
     * 根据文件名读取文本文件内容,随机返回其中一行(图片链接)
     * @param fileName 文件名称,必须和jar包在同一目录下
     * @return 随机图片链接或错误提示
     */
    private String getRandomImageLink(String fileName) {
        try {
            // 使用当前工作目录,而不是 jar 包的位置
            File currentDir = new File(System.getProperty("user.dir"));
            File file = new File(currentDir, fileName);
            List<String> lines = Files.readAllLines(file.toPath());
            if (lines.isEmpty()) {
                return "文件 " + fileName + " 中没有图片链接。";
            }
            int index = random.nextInt(lines.size());
            return lines.get(index).trim();
        } catch (IOException e) {
            e.printStackTrace();
            return "读取文件 " + fileName + " 时发生错误:" + e.getMessage();
        }
    }

}
注意:可以通过 URL 路径动态决定读取对应的文本文件内容。例如,访问 http://xxxx.xx:9001/xiantiaodog 时,服务器会读取 xiantiaodog.txt 文件的内容并返回。这样,当需要新增其他类型的图片时,只需将新的图片链接保存到对应名称的文本文件,并放置到应用程序的工作目录中。随后,通过修改路径为新增文件名即可实现扩展,无需额外的代码改动或复杂配置。
pom文件以及打包
<?xml version="1.0" encoding="UTF-8"?>
<project xmlns="http://maven.apache.org/POM/4.0.0"
         xmlns:xsi="http://www.w3.org/2001/XMLSchema-instance"
         xsi:schemaLocation="http://maven.apache.org/POM/4.0.0 http://maven.apache.org/xsd/maven-4.0.0.xsd">
    <modelVersion>4.0.0</modelVersion>

    <groupId>com.wzc.cloud</groupId>
    <artifactId>randomImg</artifactId>
    <version>1.0-SNAPSHOT</version>

    <name>randomImg</name>
    <description>Spring Boot Random Image Application</description>

    <parent>
        <groupId>org.springframework.boot</groupId>
        <artifactId>spring-boot-starter-parent</artifactId>
        <version>2.7.5</version>
        <relativePath/>
    </parent>

    <properties>
        <maven.compiler.source>11</maven.compiler.source>
        <maven.compiler.target>11</maven.compiler.target>
        <project.build.sourceEncoding>UTF-8</project.build.sourceEncoding>
    </properties>

    <dependencies>
        <!-- Spring Boot Web Starter -->
        <dependency>
            <groupId>org.springframework.boot</groupId>
            <artifactId>spring-boot-starter-web</artifactId>
        </dependency>
    </dependencies>

    <build>
        <plugins>
            <plugin>
                <groupId>org.apache.maven.plugins</groupId>
                <artifactId>maven-compiler-plugin</artifactId>
                <version>3.8.1</version>
                <configuration>
                    <source>11</source>
                    <target>11</target>
                </configuration>
            </plugin>
            <!-- Spring Boot Maven Plugin -->
            <plugin>
                <groupId>org.springframework.boot</groupId>
                <artifactId>spring-boot-maven-plugin</artifactId>
            </plugin>
        </plugins>
    </build>

</project>
打包后将jar包放到服务器上,具体步骤如下:
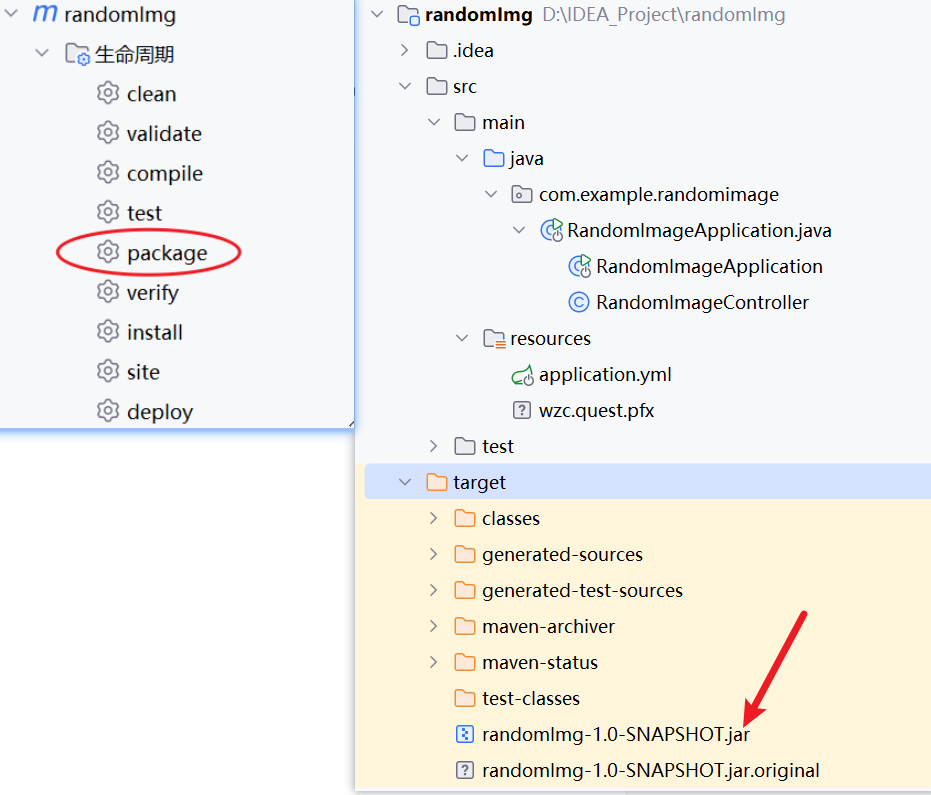
因为这是个springboot工程,内置了tomcat服务器,所以直接运行java -jar randomImg.jar 就可以访问了。
其他
应用配置安全证书
如果您的网站域名已经配置了安全证书,那么访问 http://xxxx.xx:9001/xiantiaodog 时,通常会自动跳转到 https://xxxx.xx:9001/xiantiaodog,即通过 HTTPS 协议进行访问。然而,Spring Boot 默认使用 HTTP 协议,而非 HTTPS。为确保安全性,可以为 Spring Boot 应用配置 HTTPS 并使用安全证书,以支持加密访问。
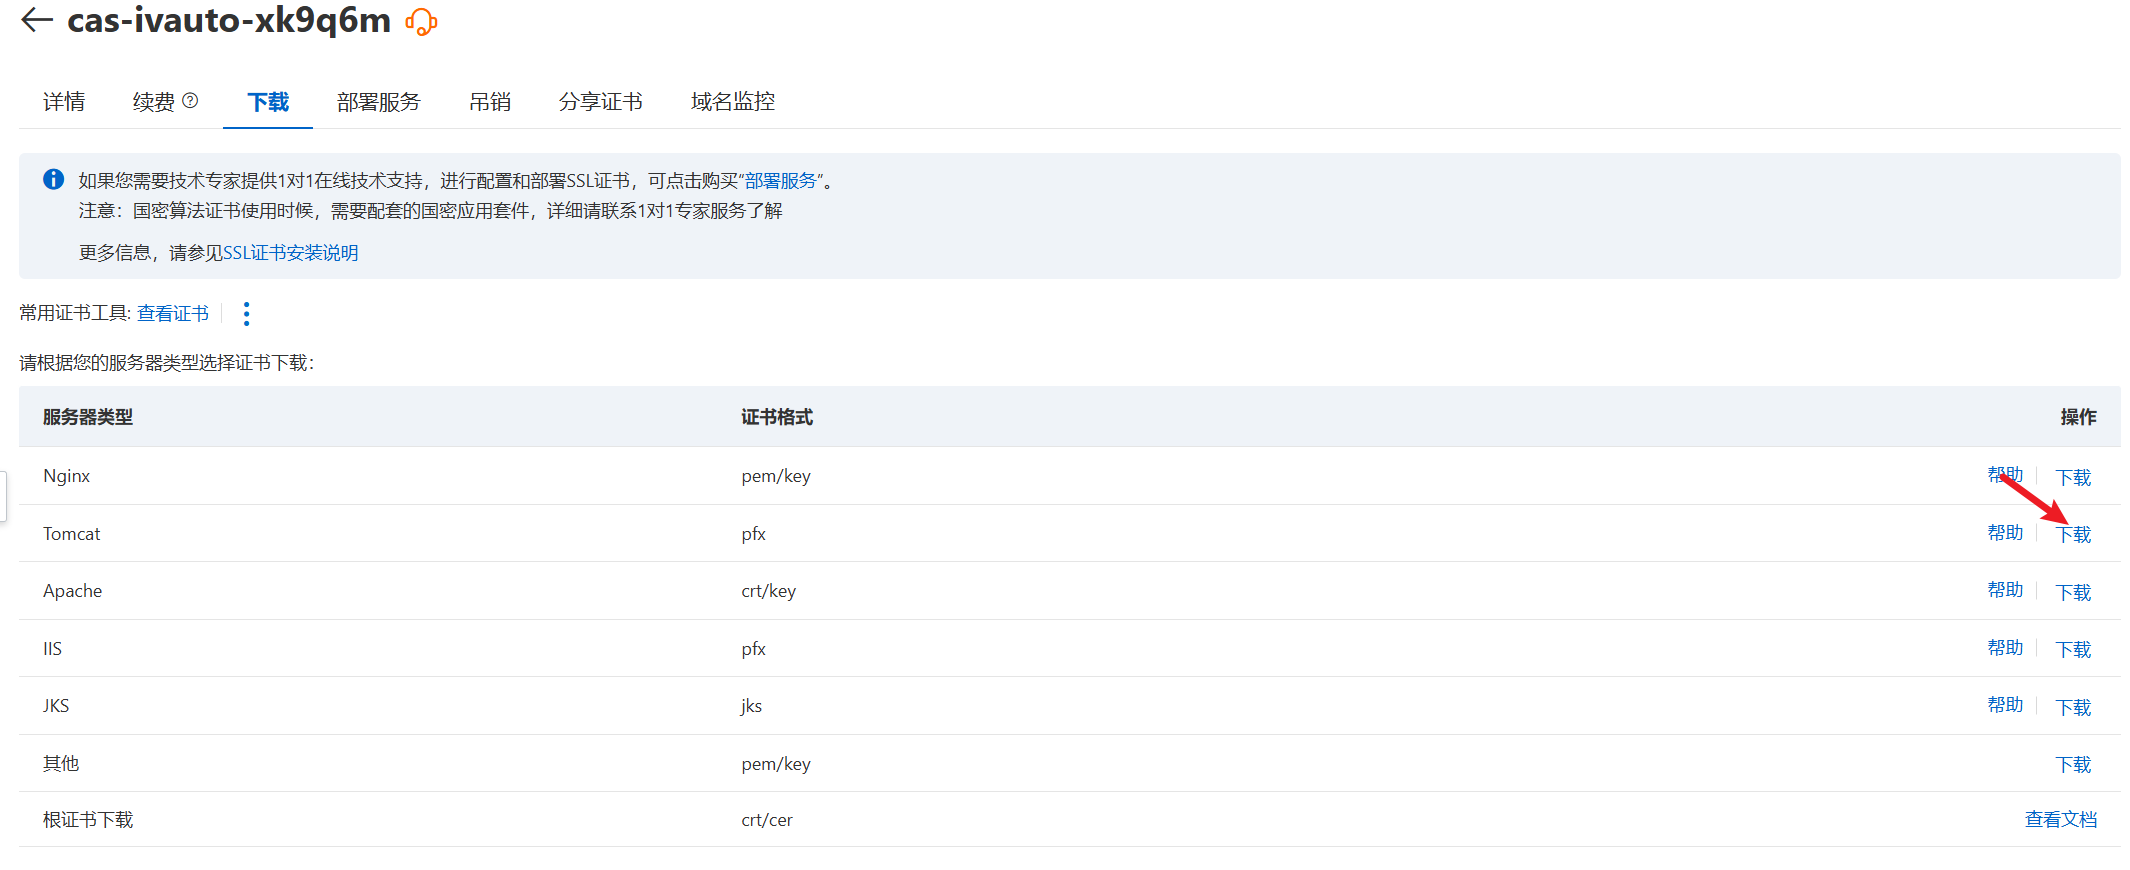
下载ssl安全证书
服务器类型选择tomcat
spingboot项目中配置
阿里云提供的是 .pfx 文件(即包含证书和私钥的 PKCS#12 文件),配置会更简单,无需额外转换。可以直接使用 Spring Boot 的 application.yml 或 application.properties 来配置 HTTPS。
将证书文件放到项目中
将 yourdomin.pfx 文件放到 src/main/resources 目录下。
修改 application.yml:
server:
  port: 9001
  ssl:
    enabled: true
    key-store: classpath: yourdomin.pfx
    key-store-password: xxxxxx    # 复制 pfx-password.txt 文件中的内容
    key-store-type: PKCS12
然后重新打包放到服务器上运行即可。
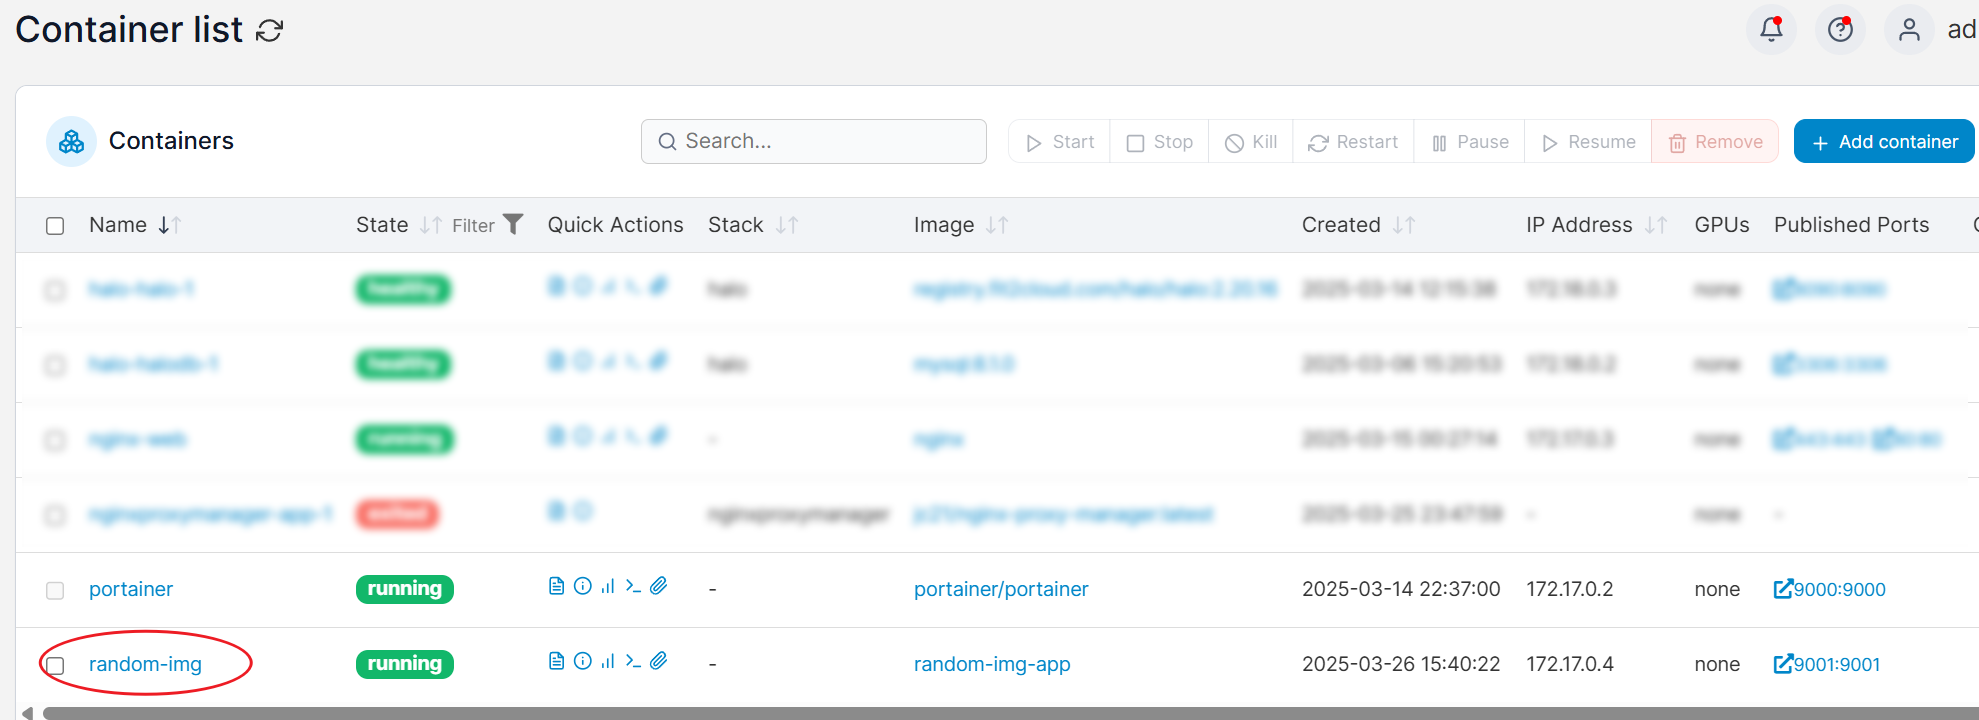
应用发布到docker上运行
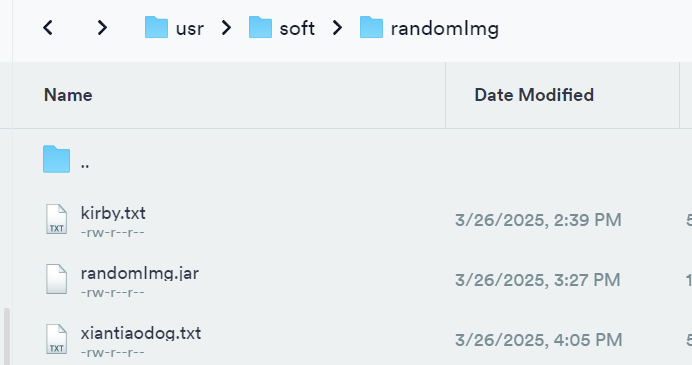
首先目录内容如下:
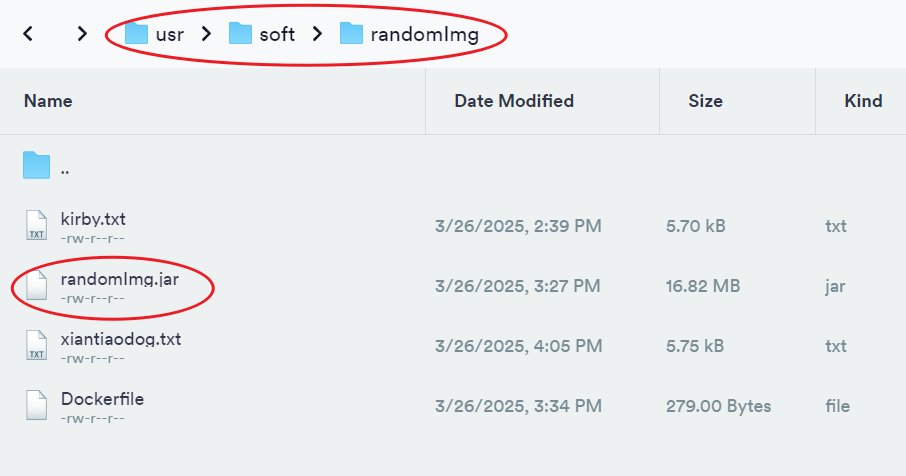
进入你的 JAR 包目录:
创建 Dockerfile: 在 /usr/soft/randomImg 目录下新建一个文件 Dockerfile:
nano Dockerfile然后将以下内容粘贴进去并保存:
# 使用 OpenJDK 11 基础镜像  要和项目用的jdk版本一致
FROM openjdk:11-jdk-slim

# 设置工作目录
WORKDIR /app

# 复制 JAR 文件到容器中
COPY randomImg.jar /app/randomImg.jar

# 暴露应用运行的端口
EXPOSE 9001

# 启动 JAR 应用
ENTRYPOINT ["java", "-jar", "/app/randomImg.jar"]
构建 Docker 镜像
在 /usr/soft/randomImg 目录下运行以下命令构建镜像:
docker build -t random-img-app .复制编辑挂载宿主机目录到容器
在 docker run 命令中,你可以通过 -v 或 --mount 选项来挂载宿主机的目录到容器内。
这样在docker运行的应用才能/usr/soft/randomImg 下找到xxx.txt文件(重要)
docker run -d -p 9001:9001 -v /path/to/host/directory:/app --name random-img random-img-app最终结果: